
I bought my Mac Book Pro with the best parameters at its time - CPU, GPU - Video Card, Maximum allowed RAM Memory 16GB, but the only thing I made a compromise was the SSD. At that time to buy 512 GB instead of mine 256GB would cost me additional £600. I remember the overall price of the laptop was £1700 with student discount (I was a student in the University of Bristol at that time), otherwise would be more than £2000 (can't remember how much exactly). Anyway the compromise was made and after just a couple of months it proofed itself to be very a bad one - too little space - this means nothing except programs and VMWare - Windows 7 (with Microsoft Development Package Visual Studio, SQL Server and so on) and X-Code. It was a struggle. I am a Software Engineer and usually use my laptop only for work but still I wanted to listen to music, edit home videos and other staff.
In 2014 I bought this storage expansion card - SDHC:

from Amazon. That was quick and cheap solution 128GB for 80 USD.
So now I could actually store images, videos and music. But it was slow and not as fast as SSD and for sure not useful for running applications directly from there.
The last option for me was fixing the actual problem - change of SSD. That was difficult choice as it was not officially done by apple.
After a lot of googling around I decided not to do it. This year - 2016 after I sow the new MacBook pro's - the fact that they still have 16 GB RAM, not so much better processors and most importantly the price was close to 3000£ if I wanted better components, I decided I will try to postponethat buy for some years.

So my next step was - go to amazon buy SSD and change it yourself.

It was £450
Then it turns out that is quite an easy process - everything is written as part of the instructions that are coming with the memory. First from system recovery mode copy the OS on the new SSD. Open, Replace and you are ready. It turns out that is exactly this. Do not be afraid!
Some pictures of my mac during the process:
Step1: place it and prepare for change so that each screw can be placed next to it's positions. The screws are 3 types (I am not sure), so not to care place them next to the whole where they have to go to.

Step2: Remove the screws and clean the dust with cotton buds. If you have never open your mac you will find a lot of staff in there.


That was it. After I replaced the SSD I careful put back the screws in their exact positions and all done. It was working fine, although it took some time for the spotlight search to reindex the files - couple of hours. Since then it was running absolutely fine. It is worth testing with Disk Speed Test - software for mac before you change your SSD and after - to compare if the new one is slower or faster. For me (Mac Late 2012) it turns out that there is no difference. Just when you test make sure you have not much running apps - so that the whole RAM can be used to test the SSD.

I know that 2016 Mac's have some unbelievable Read and Write Speed of their SSDs, but till the price is that hight I will be waiting for some years again before making change.
That's my Mac Now - from 256 GB to 1 TB:

Hope you get just a little inspired and go and change the SSD instead of selling what you have and buying a new model for more than £3000.
In 2014 I bought this storage expansion card - SDHC:

from Amazon. That was quick and cheap solution 128GB for 80 USD.
So now I could actually store images, videos and music. But it was slow and not as fast as SSD and for sure not useful for running applications directly from there.
The last option for me was fixing the actual problem - change of SSD. That was difficult choice as it was not officially done by apple.
After a lot of googling around I decided not to do it. This year - 2016 after I sow the new MacBook pro's - the fact that they still have 16 GB RAM, not so much better processors and most importantly the price was close to 3000£ if I wanted better components, I decided I will try to postponethat buy for some years.

So my next step was - go to amazon buy SSD and change it yourself.

It was £450
Then it turns out that is quite an easy process - everything is written as part of the instructions that are coming with the memory. First from system recovery mode copy the OS on the new SSD. Open, Replace and you are ready. It turns out that is exactly this. Do not be afraid!
Some pictures of my mac during the process:
Step1: place it and prepare for change so that each screw can be placed next to it's positions. The screws are 3 types (I am not sure), so not to care place them next to the whole where they have to go to.
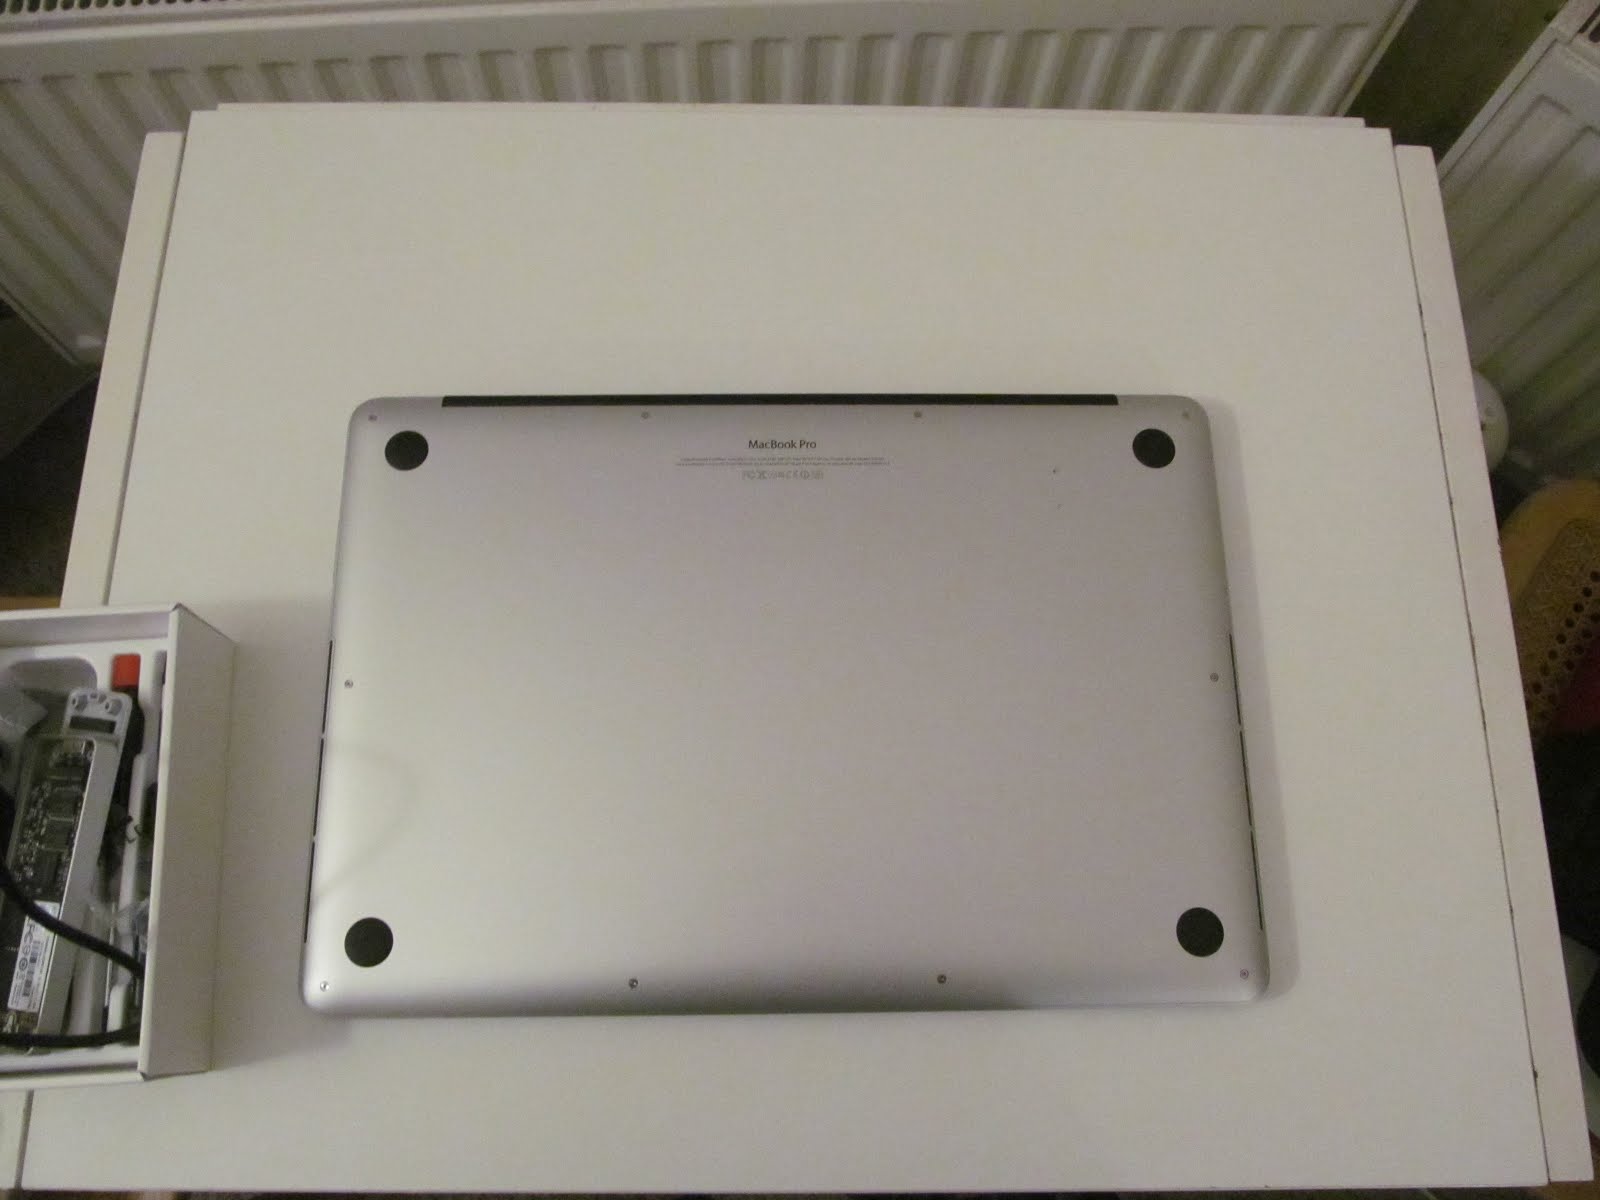
Step2: Remove the screws and clean the dust with cotton buds. If you have never open your mac you will find a lot of staff in there.


That was it. After I replaced the SSD I careful put back the screws in their exact positions and all done. It was working fine, although it took some time for the spotlight search to reindex the files - couple of hours. Since then it was running absolutely fine. It is worth testing with Disk Speed Test - software for mac before you change your SSD and after - to compare if the new one is slower or faster. For me (Mac Late 2012) it turns out that there is no difference. Just when you test make sure you have not much running apps - so that the whole RAM can be used to test the SSD.

I know that 2016 Mac's have some unbelievable Read and Write Speed of their SSDs, but till the price is that hight I will be waiting for some years again before making change.
That's my Mac Now - from 256 GB to 1 TB:

Hope you get just a little inspired and go and change the SSD instead of selling what you have and buying a new model for more than £3000.


 Posts
Posts

